Ableton has completely changed how people make music on a computer. Over six million people worldwide use Ableton Live to produce beats, create electronic tracks, and perform on stage. Most folks think of music software as clunky or old-school. Actually, Ableton flips the script with its wild Session View and real-time clip launching that let ideas flow as fast as you can think them up.
Table of Contents
- Defining Ableton: An Introduction To Music Production Software
- The Importance Of Ableton In Modern Music Creation
- How Ableton Works: An Overview Of Its Features And Capabilities
- Key Concepts In Ableton: Understanding Its Tools And Applications
Quick Summary
| Takeaway | Explanation |
| Ableton offers unique dual workflow modes. | Experience spontaneous creativity with the Session View and precision with the Arrangement View for detailed editing. |
| Integrates powerful audio manipulation tools. | Utilize sophisticated audio warping, MIDI programming, and complex signal routing for innovative music production. |
| Supports real-time sound manipulation and performance. | Transition seamlessly from studio to live setting, enabling dynamic interaction with music during performances. |
| Equips producers with an extensive built-in instrument library. | Access a variety of built-in sounds and effects to enhance creative potential and streamline production. |
| Facilitates experimentation across music genres. | The flexible platform enables creators to explore electronic, hip-hop, and experimental compositions effectively. |
Defining Ableton: An Introduction to Music Production Software
Ableton is a powerful digital audio workstation (DAW) designed specifically for music production, live performance, and creative sound design. Unlike traditional recording software, Ableton stands out with its unique workflow and innovative approach to music creation. Learn how to make beats in Ableton and unlock your full musical potential.
What Makes Ableton Different
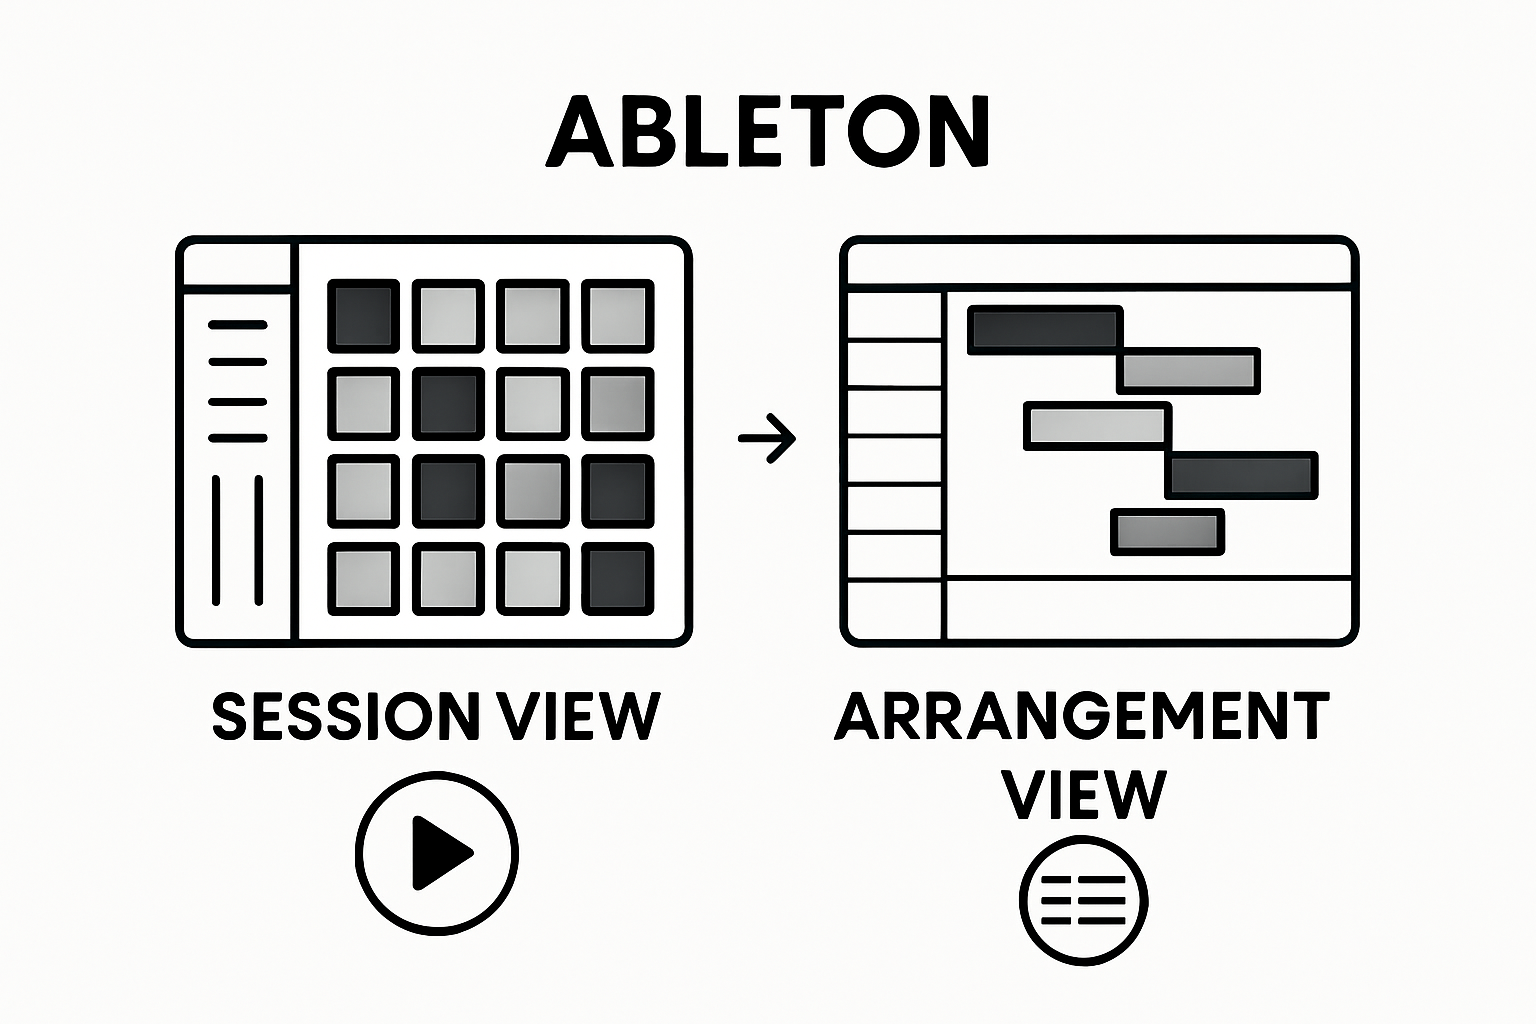
Ableton Live breaks away from conventional music production software by offering two distinct view modes that revolutionize how musicians interact with their music.
 The Session View allows for spontaneous musical experimentation, enabling producers to trigger and layer musical clips in real time. Meanwhile, the Arrangement View provides a traditional linear timeline for detailed track editing and composition.
Below is a comparison table highlighting the core differences between Ableton’s two main workflow modes, Session View and Arrangement View, to help clarify how each mode supports different aspects of music production.
| View Mode | Primary Purpose | Key Features | Typical Use Case |
| Session View | Spontaneous idea generation | Real-time clip launching, loop-based arrangement | Live performance, improvisation |
| Arrangement View | Detailed editing | Linear timeline, precise editing and automation | Song structuring, finalizing compositions |
Key characteristics that distinguish Ableton include:
- Flexible clip launching and arrangement capabilities
- Integrated sound warping and time-stretching technologies
- Extensive built-in instruments and audio effects
- Seamless integration with hardware controllers
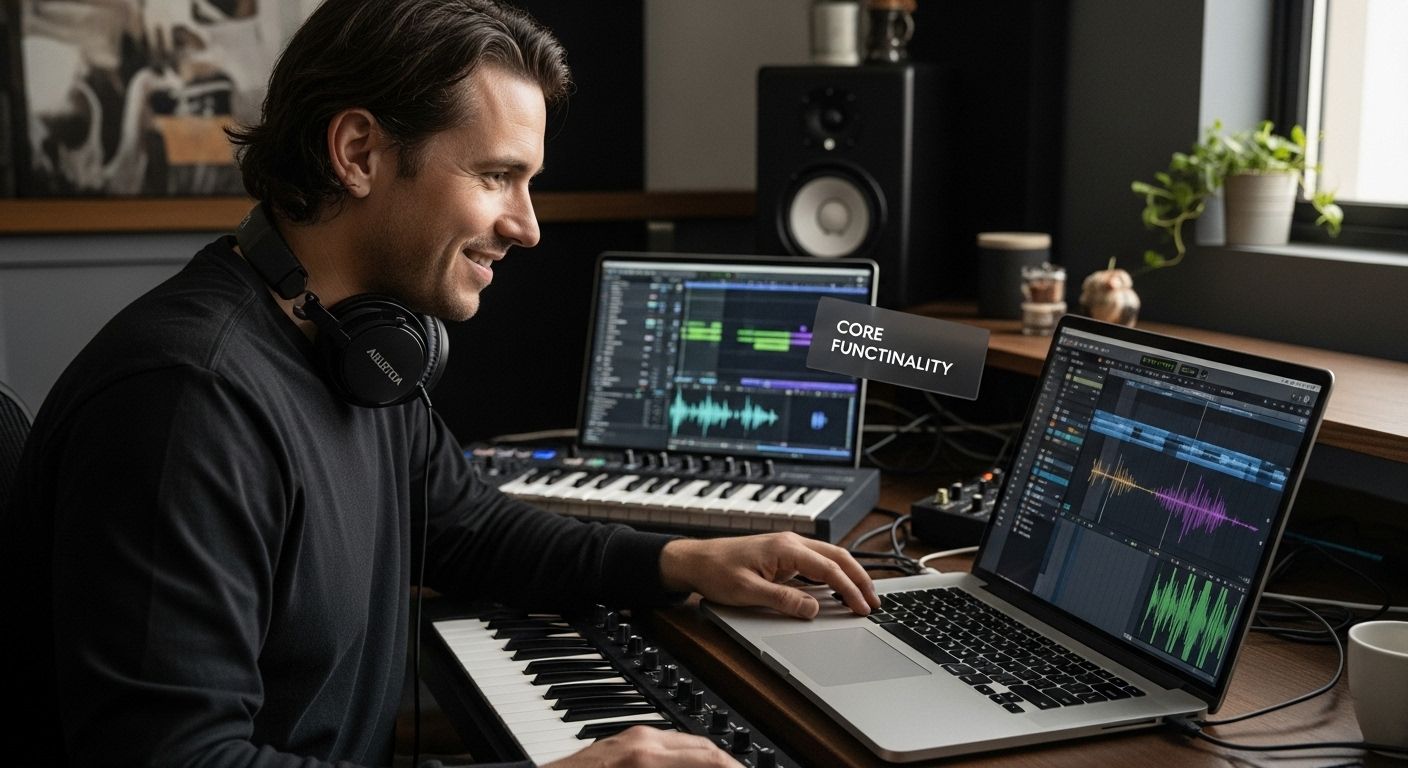
Understanding Ableton’s Core Functionality
At its core, Ableton is designed to serve multiple music production needs. According to Berklee College of Music, modern music production requires tools that support both creative exploration and precise technical editing. Ableton meets this requirement by providing an environment where musicians can quickly capture ideas, experiment with sounds, and transform raw musical concepts into polished tracks.
Producers can record audio, program MIDI instruments, manipulate samples, and apply complex audio effects all within a single, intuitive interface.
This table summarizes some of Ableton’s most important features and capabilities, giving a quick reference for what sets it apart as a professional music production tool.
| Feature | Description |
| Flexible Clip Launching | Trigger and layer audio/MIDI clips in real time |
| Audio Warping Technologies | Stretch, shift, and manipulate audio without altering pitch |
| MIDI Programming | Sequence and control virtual instruments and effects |
| Built-in Instruments & Effects | Access a library of sounds and audio processing tools |
| Real-Time Performance Support | Seamlessly switch from studio workflow to live performance environments |
| Advanced Signal Routing | Create complex chains for effects, instruments, and hardware integration |
 Whether you’re creating electronic dance music, hip-hop beats, or intricate sound designs, Ableton provides the flexibility to bring your musical vision to life.
The Importance of Ableton in Modern Music Creation
Ableton has transformed music production by providing an unprecedented level of creative flexibility and technical precision. For modern musicians and producers, this software represents more than just a recording tool it is a comprehensive platform for musical innovation. Explore advanced beat-making techniques to understand how professional creators leverage these powerful technologies.
Revolutionizing Creative Workflows
Modern music production demands tools that can keep pace with rapidly evolving artistic visions. Ableton addresses this need by offering workflows that break traditional linear recording constraints. Electronic musicians, hip-hop producers, and live performers can now manipulate sound in real time, turning composition into a dynamic, interactive experience.
Key advantages of Ableton in contemporary music creation include:
- Instant sound manipulation and live performance capabilities
- Seamless integration between studio production and live performance
- Advanced sound design and sampling technologies
- Unprecedented creative freedom across multiple music genres
Professional Applications and Industry Impact
According to Billboard Magazine, Ableton has become a standard tool in professional music production. Its impact extends beyond traditional recording, enabling musicians to create complex soundscapes that blur boundaries between composition, performance, and real-time sound manipulation.
WEBSITE RESOURCES FOR MUSICIANS
Producers across genres leverage Ableton to transform raw musical ideas into polished, professional tracks. Whether crafting intricate electronic compositions or developing dynamic hip-hop beats, musicians find Ableton provides the technological foundation for pushing creative boundaries and exploring innovative sound design techniques.
How Ableton Works: An Overview of Its Features and Capabilities
Ableton represents a sophisticated digital ecosystem where music production transcends traditional recording methods. Its unique architecture enables musicians to transform creative concepts into fully realized musical compositions. Discover advanced beat production techniques to maximize your musical potential.
Core Architectural Design
At its fundamental level, Ableton operates through two primary interaction modes: Session View and Arrangement View. These complementary interfaces provide musicians unprecedented flexibility in sound manipulation and composition. The Session View allows spontaneous clip triggering and layering, while the Arrangement View offers precise linear editing capabilities.
Key technical components of Ableton include:
- Sophisticated audio warping algorithms
- Comprehensive MIDI programming environments
- Real-time audio effect processing
- Advanced sampling and sound design tools
Advanced Feature Integration
According to The Recording Academy, modern music production requires tools that adapt to creative workflows. Ableton meets this demand through intelligent features like Warp Markers, which enable precise time-stretching and rhythmic manipulation without compromising sound quality.
The software’s modular design allows seamless integration with external hardware and software instruments. Producers can create complex signal chains, route audio dynamically, and transform raw sound sources into intricate musical arrangements. Whether developing electronic dance tracks, crafting hip-hop beats, or designing experimental soundscapes, Ableton provides a comprehensive platform for musical innovation.
Key Concepts in Ableton: Understanding its Tools and Applications
Ableton transforms music production by offering a comprehensive suite of tools that go beyond traditional recording techniques. Musicians and producers can leverage its advanced capabilities to create intricate soundscapes and dynamic compositions. Master advanced beat-making strategies to unlock your full creative potential.
Essential Production Tools
At the heart of Ableton are powerful tools designed to streamline music creation. Clip launching, audio warping, and MIDI programming represent core functionalities that distinguish this software from traditional digital audio workstations. These tools enable producers to manipulate sound in ways that were previously impossible, offering unprecedented creative flexibility.
Key production capabilities include:
- Sophisticated audio manipulation technologies
- Seamless MIDI instrument integration
- Complex signal routing possibilities
- Advanced audio effect chaining
Workflow and Performance Optimization
According to Music Tech Magazine, modern music production demands tools that adapt to creative thinking. Ableton meets this challenge through intelligent features like Warp Markers and Live Zones, which allow musicians to deconstruct and reassemble musical elements in real time.
The software’s modular architecture supports multiple workflow approaches. Producers can transition seamlessly between studio composition and live performance, creating complex arrangements that respond dynamically to musical intuition. Whether developing electronic dance tracks, crafting intricate hip-hop beats, or designing experimental soundscapes, Ableton provides musicians with a comprehensive platform for sonic exploration.
Ready to Turn Your Ideas into Pro-Level Beats?
Are you inspired by the possibilities you just learned about Ableton, but still feel overwhelmed by music production tools and workflows? Struggling to bridge the gap between creative ideas and finished tracks is common for beginners and experienced producers alike. Whether you want to make catchy EDM hooks, crisp hip-hop beats, or experiment with advanced sampling and MIDI, mastering these skills takes guidance and the right resources. Our community covers everything from Ableton techniques and DAW comparisons to audio gear reviews to help you build great instrumentals faster. For hands-on tutorials and real-world advice, start with our ableton guide or compare audio equipment essentials so your studio stays a step ahead.
Take control of your music journey today. Join thousands of beatmakers who already use HowToMakeBeatsBlog.com for easy-to-follow lessons, gear reviews, and pro tips tailored to all genres. Visit now to unlock new creative potential with Ableton and beyond.
Frequently Asked Questions
What is Ableton?
Ableton is a powerful digital audio workstation (DAW) designed for music production, live performance, and sound design. It provides an intuitive interface and unique workflow features tailored for musicians and producers.
How does Ableton differ from other digital audio workstations?
Ableton stands out with its dual interface offering: the Session View for spontaneous experimentation and the Arrangement View for linear track editing. This flexibility makes it especially popular among live performers and electronic musicians.
What are the key features of Ableton?
Key features of Ableton include flexible clip launching, audio warping technologies, comprehensive MIDI programming, and extensive built-in instruments and effects, making it versatile for various music genres.
Can I use Ableton for live performances?
Yes, Ableton is widely used for live performances due to its Session View, which allows musicians to trigger clips and loops in real time. This capability creates a dynamic and interactive performance experience.
Recommended
- Make Beats in Ableton
- Ableton Live 12 vs. MPC 3.0
- Essential Audio Equipment For Making Beats
- Best Midi Controllers


